Posted: 9/19/23
Are you wondering how to paint your new clear RC body? Follow the steps to achieve the paint scheme of your dreams.
What You'll Need:
- Unpainted clear body that fits your vehicle
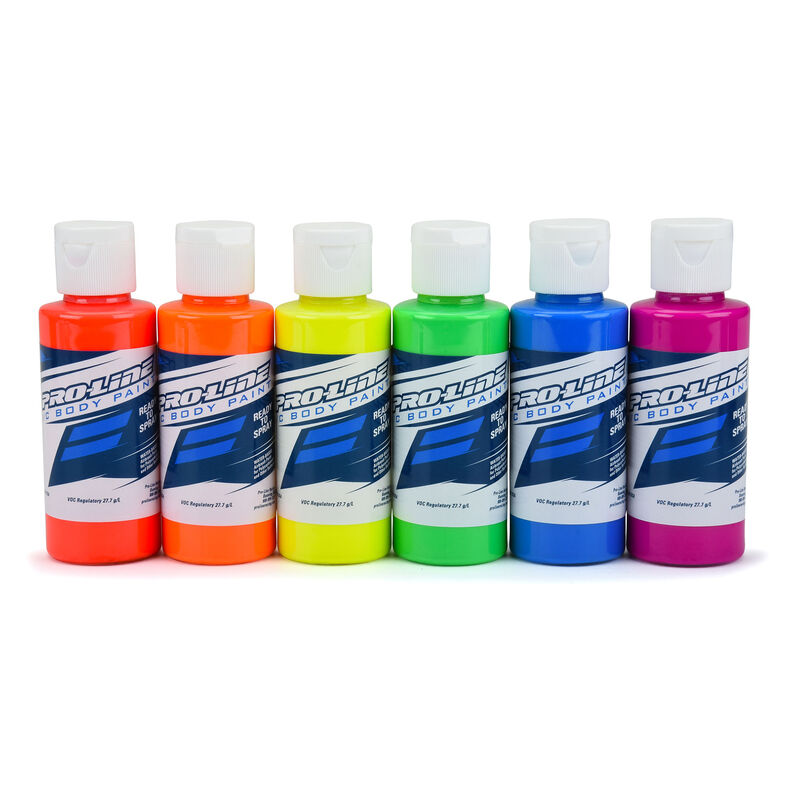
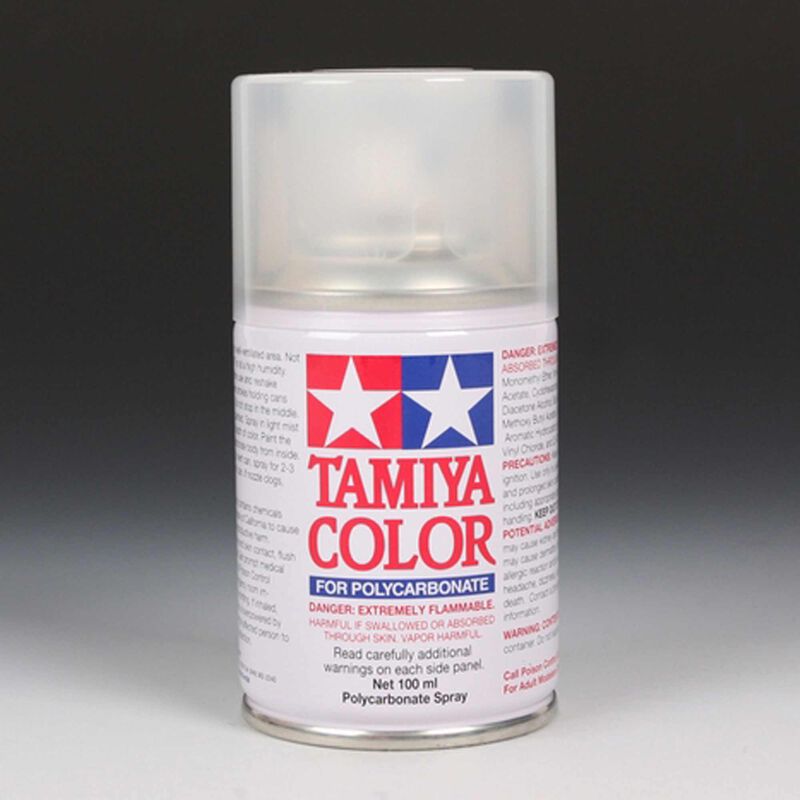
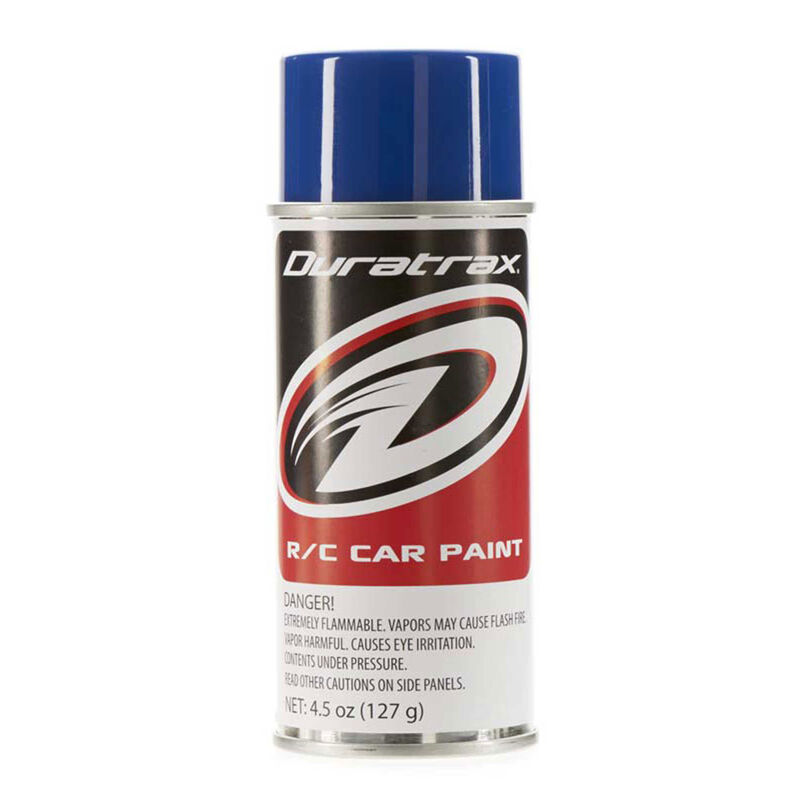
- Lexan/polycarbonate compatible paint
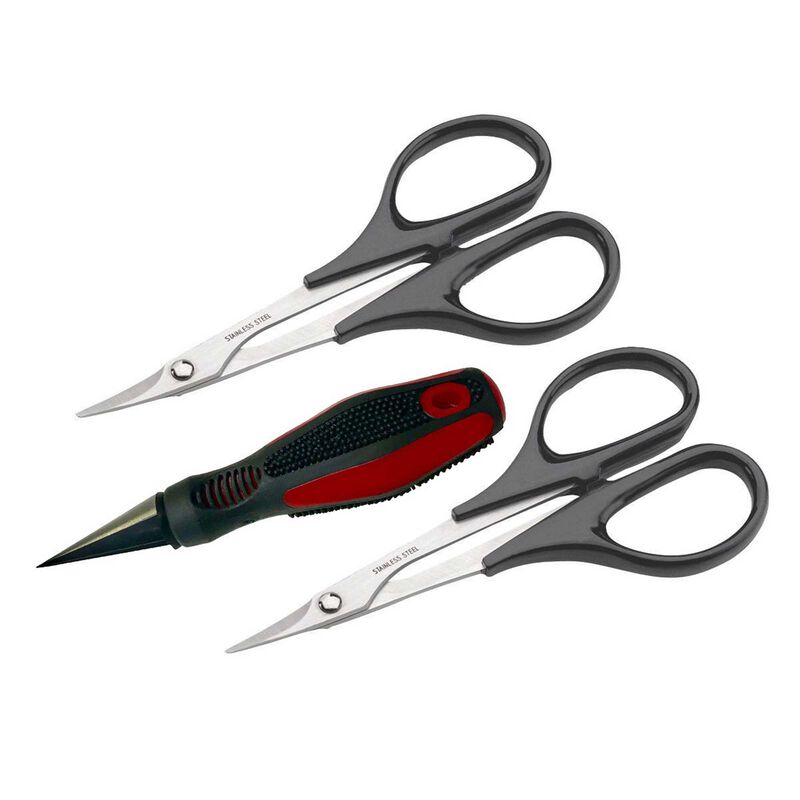
- Straight and curved body scissors
- Body reamer, drill, or dremel
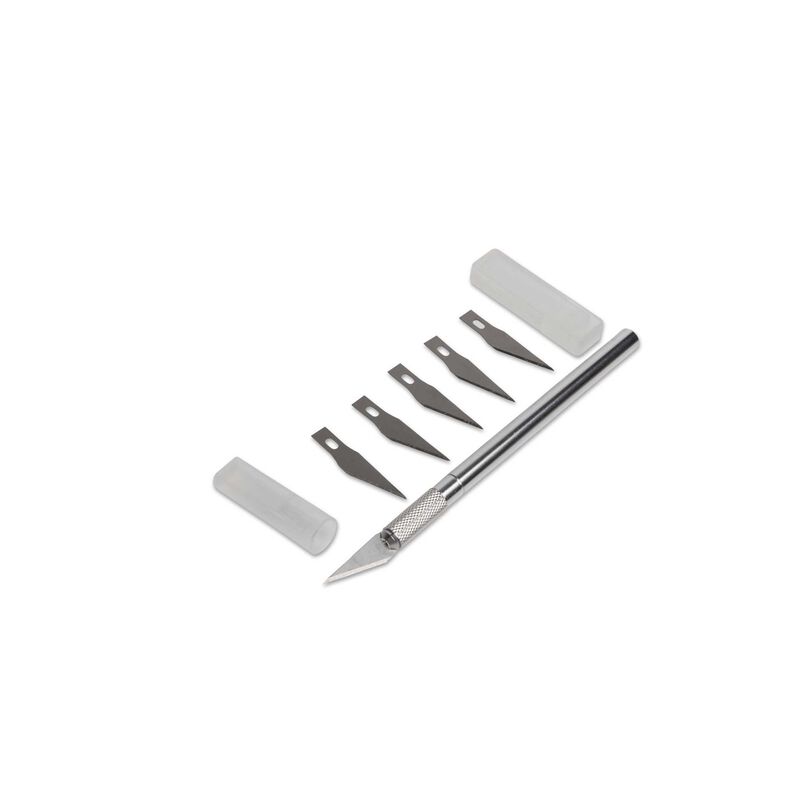
- Sharp hobby knife
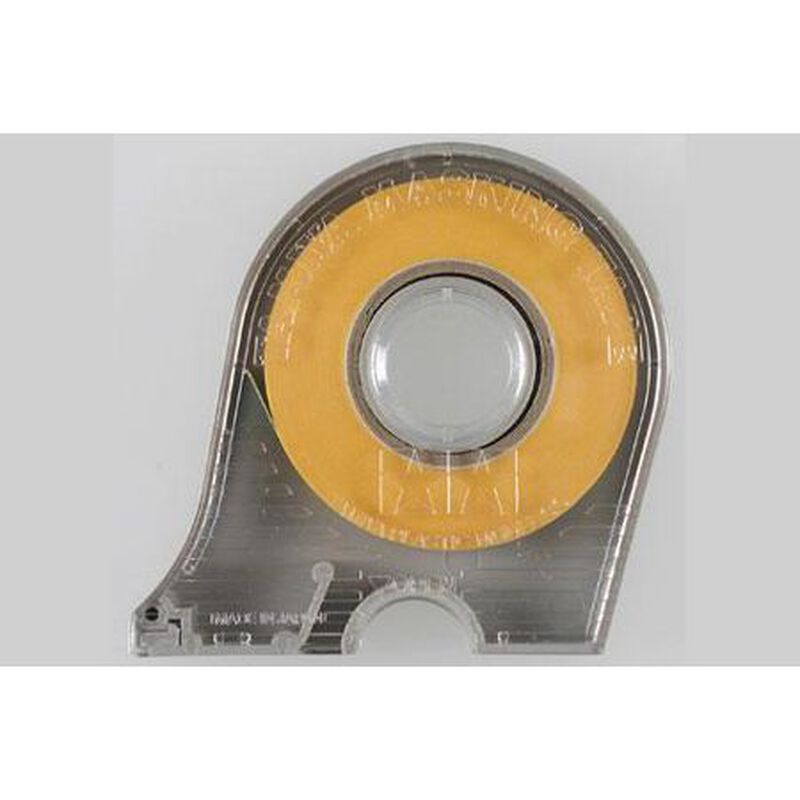
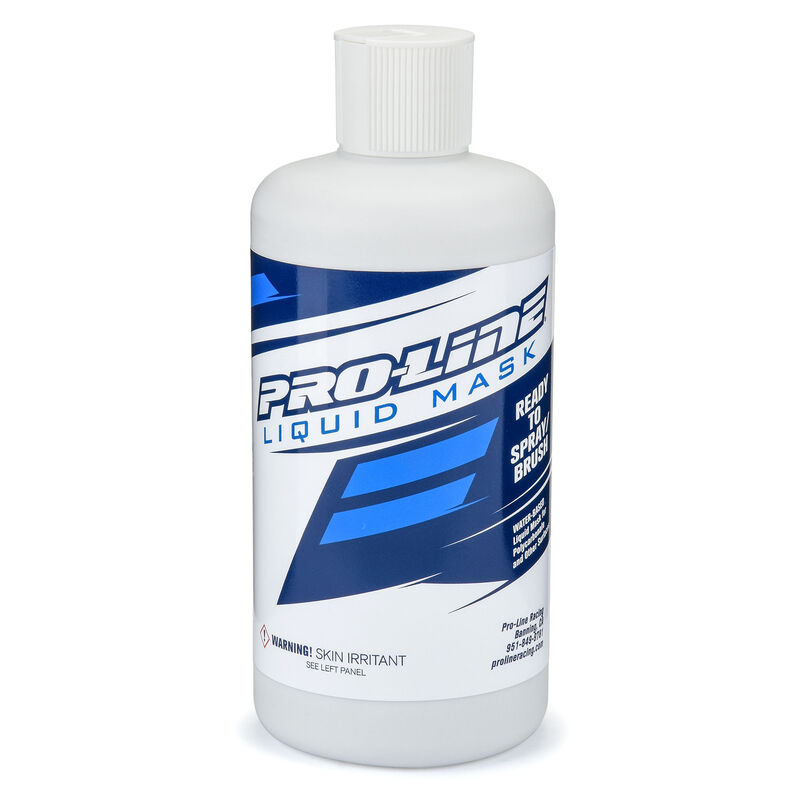
- Masking tape or liquid mask
- Dish soap
- Paper towel or clean cloth
- Permanent marker
- Medium Grit Sandpaper or Sanding Drum
- Window masks, decal sheet and wing mounting hardware (Included with body, if applicable)
Pro Tips:
- Lexan/polycarbonate bodies are painted on the inside. Keep this in mind when deciding the order in which to mask and apply colors. (Flat/matte finishes are generally the only paints that should be applied to the exterior)
- Do not remove the pre-applied overspray film until all painting is finished. This film protects the outside of the body during painting. Decals may be applied after overspray film is removed.
- Only use lexan/polycarbonate compatible paints. Other paint types don't adhere or flex well, which leads to cracking and flaking. It's best to stick to one brand as well to avoid unwanted interactions.
Duratrax Polycarb Spray | Tamiya Polycarbonate PS Spray | Proline RC Body Paint
Masking Tape or Liquid Mask?
Masking tape is most often used as it's common and easy to apply. It requires no dry time and can be easily cut to shape. The downside to masking tape is it's tendency to bleed when applied in tight corners or if it hasn't been fully applied and pressed down.
Liquid mask goes on milky and dries clear. When dried it creates a peelable barrier between the body and the paint. After painting the mask can easily peeled off to reveal your design. The downside to liquid masking is it does require some time to fully dry and become paintable. It’s often preferred over masking tape as it can be easier to mark and cut, and offers crisper lines with less bleeding than tape.
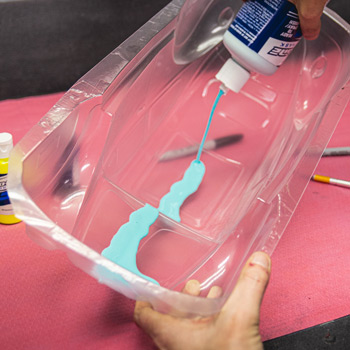

Easy application direct to body or into a spray gun.
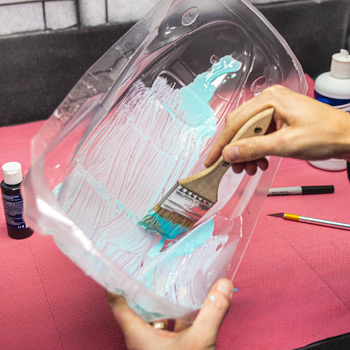

Brush or spray 2-3 wet coats onto inside of clean/prepped body. Allow first coat to dry completely.
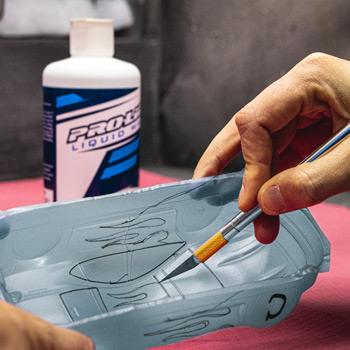

Design paint scheme on outer protective film, then score dry Liquid Mask with a sharp blade.
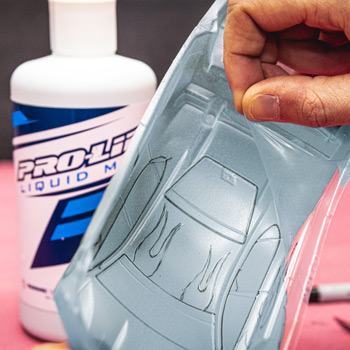

Peel mask from desired sections to paint.
Let's Get Painting!
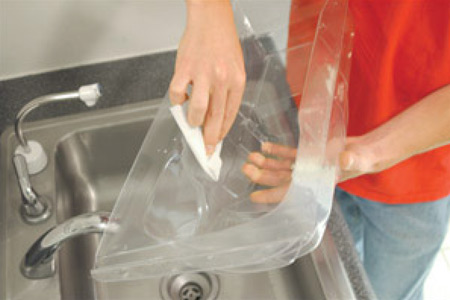

Step 1: Wash Your Body
Wash and scrub the body with household dish soap and a paper towel to remove any residue left after molding. Use warm soapy water in your sink, paying special attention to the tight curved areas and corners. Dry the body with a clean towel or hair dryer. It must be completely dry before painting.
Step 2: Cut Off the Wing
If your body came with a wing or spoiler molded into the excess material, you must cut it off. Some wings are molded in the opposite direction of the body. If this is the case remove the protective film, and paint the reverse side.
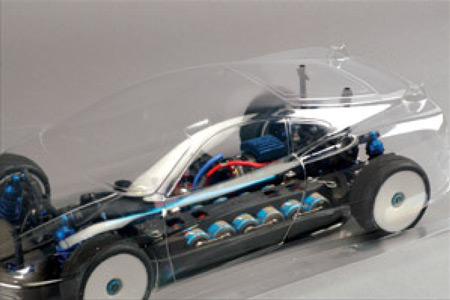

Step 3: Marking the Body Posts
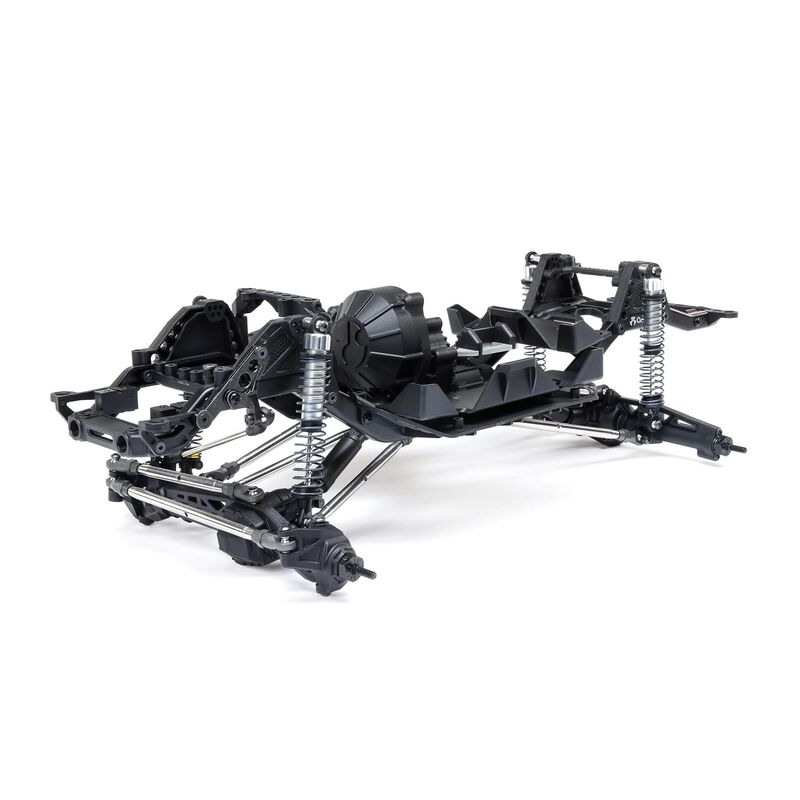
If your body does not have mounting holes marked for your chassis you can mark them before you paint. Drop the body over your chassis, center it and use a permanent marker to mark the body posts.
Step 4: Marking the Wheels
While your body is over the chassis, you can also mark the wheel wells if necessary. Touring car and on-road bodies sometimes have no rear wheel well outlines, this give you freedom to make a perfect fit for your chassis. (Touring Car body shown)
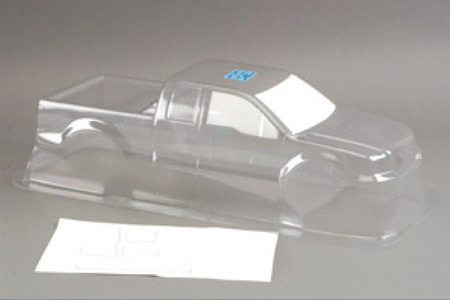

Step 5: Window Masks
Using the molded in window lines as a guide apply the window masks to the inside the body. Be sure to press down all the edges to keep paint from sneaking under. The masks keep the windows clear while you paint.
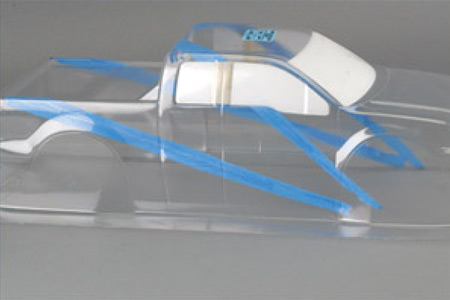

Step 6: Tape Stripes
This paint scheme is quite simple, and uses straight masking tape for the design. Make sure you use high quality masking tape, and press down all the edges. First mask off the color that you want to paint last.
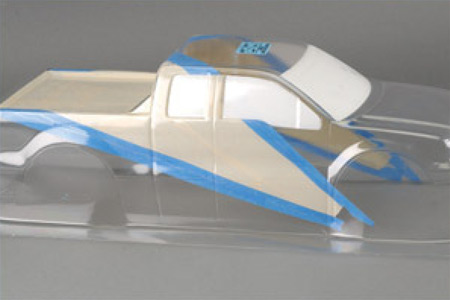

Step 7: Continue Taping
Fill in the area you want to paint with your second color. I used blue and beige tape to show the separate paint sections. Painting from dark to light is ideal, so leave the darkest section clear, and paint this first.
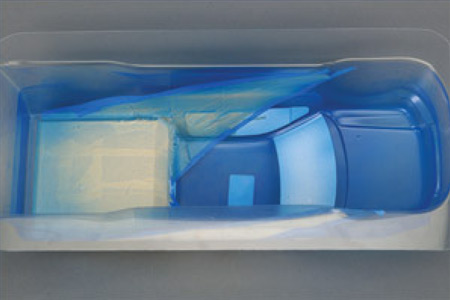

Step 8: First Coat
For your first color, spray a light even coat and allow to tack up. Then apply a second light to medium coat to fill in your color. If another coat is required, apply lightly as to not create build up on the design masking tape. This would result in a difficult removal of the tape edge.
Note: Candy or translucent colors will stay see-through. Do not attempt to put many layers of paint to get the color to show. The backing color (white or silver) will bring out the color once it is sprayed.
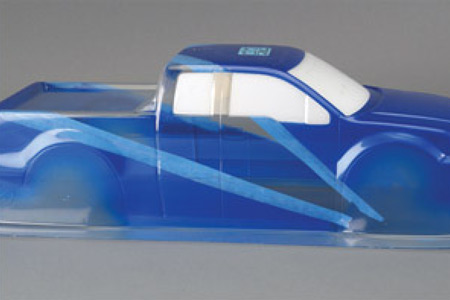

Step 9: Finish First Coat, & Remove Mask
When your first color has completely dried, unmask the second section of the paint scheme. While removing the tape, watch that you don't remove any of the stripes accidentally.
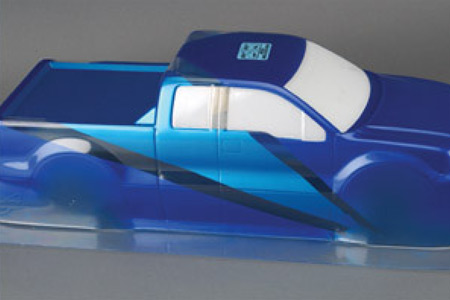

Step 10: Paint 2nd Color & Remove Mask
Again spray light coats and cover evenly. You can then back it with white or silver, in this case since the stripes will be silver, no need to back it separately. When the paint has completely dried remove the taped stripes.
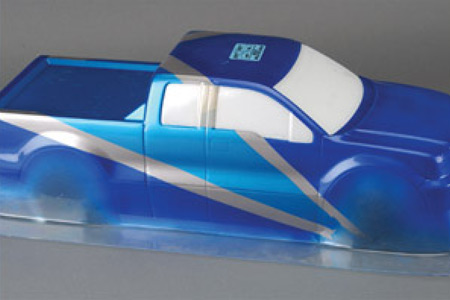

Step 11: Paint Stripe
Now fill in the stripes with silver, and also back up the blue section in the middle, and on the bed.
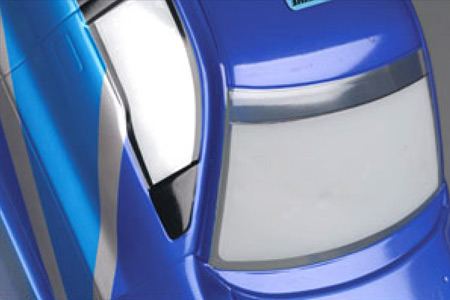

Step 12: Window Trim
Painted window trim is popular and easy to create. When your final backup coat is dry, trace and trim around the inside of the window mask creating a border. Remove the borders from all the windows and spray with your desired color.
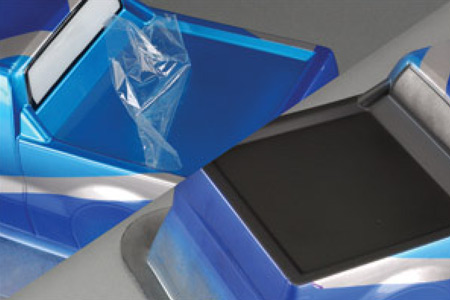

Step 13: Flat Black Bed
Another option is a flat black tonneau cover or bedliner. With a sharp hobby knife cut the overspray film around the bed, and peel it away. Spray the bed on the outside of the body with Black and let dry. Follow up with Flat Clear for a matte finish. The film remaining around the bed protects the rest of the body from overspray.
Note: Masking and painting the bed on the interior with Black and exterior with Flat Clear yields a similar result.
Pro Tip: Flat Clear can be applied to the exterior of the body to give a matte finish to desired areas. Be mindful of windows and overspray film. It’s best to do exterior painting steps once all interior painting is complete.
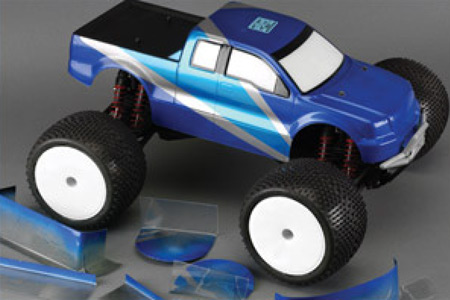

Step 14: Trim & Test Fit
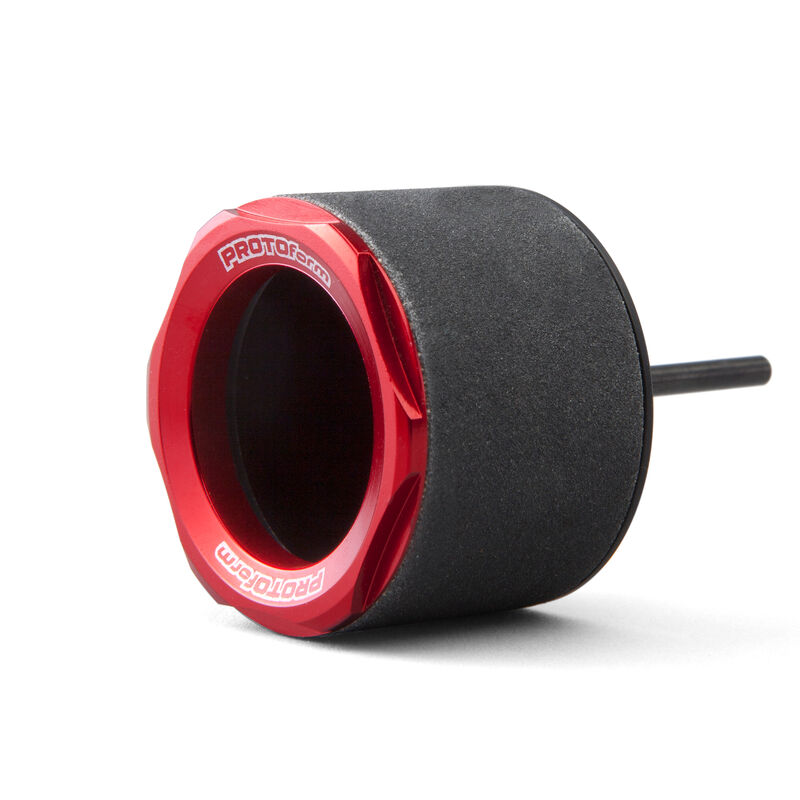
Trim out your body using curved scissors for the wheel wells and straight scissors for the lower lines. Drill out your body post markings with a body reamer (recommended), drill, or Dremel tool. The protective film will help keep your body from getting scratched as you cut and drill.
Pro Tip: For added durability it is recommended to sand all rough and sharp edges with medium grit sandpaper or a sanding drum.
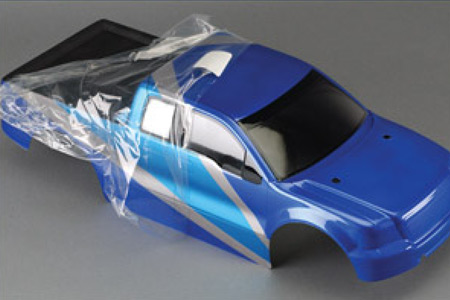

Step 15: Remove Overspray Film & Window Masks
Peel back the overspray film, and remove the window masks.
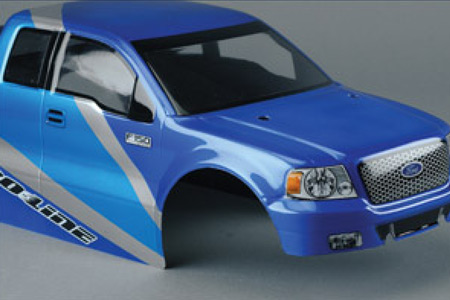

Step 16: Decal & Drive!
Apply the decals included with the body. Install the body on your vehicle and you’re ready to drive!
