Posted: 4/3/23
How to Build Your Own RC Car
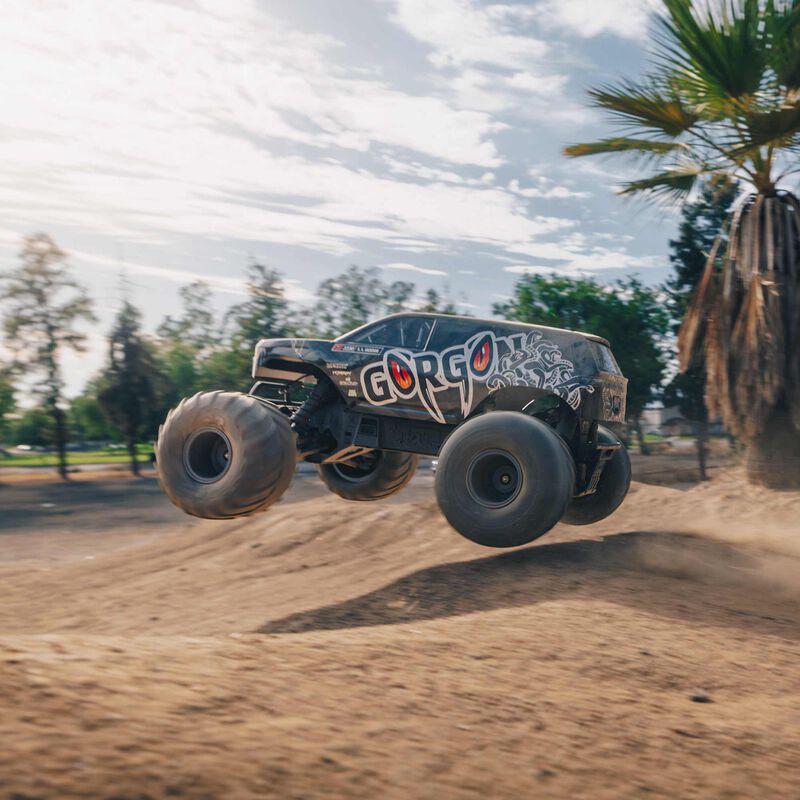
Buying a radio control car or truck involves making some important decisions. Not only do you have to select a style of RC vehicle, but you also have to choose whether you’d like one that’s factory-assembled or that you build yourself from a kit.
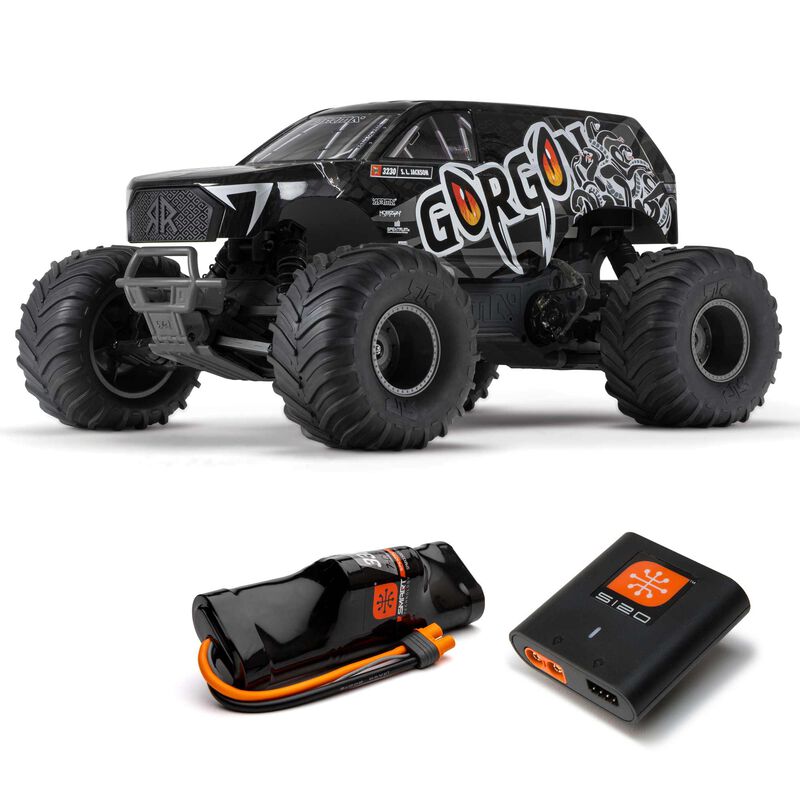
Ready-to-run (RTR) remote control cars are factory-built by the manufacturer. They come equipped with most or all of the items required for operation. Roller RC vehicles have a partially assembled chassis but typically lack a body, wheels, tires, electronics, and other components that experienced modelers like to select and install for themselves.
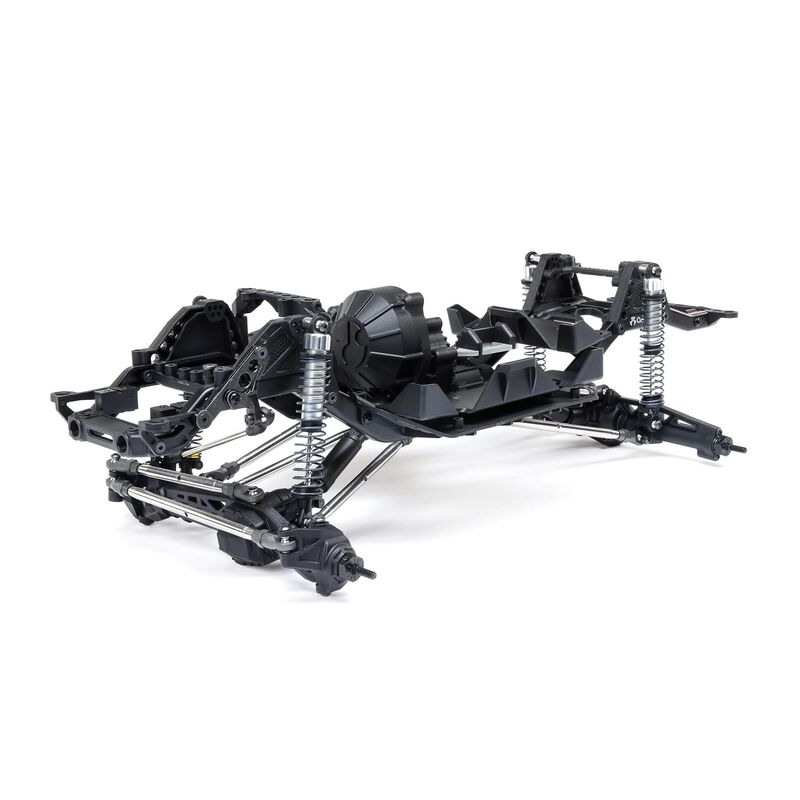
Then you have RC car kits. Unlike RTRs and rollers, there’s little that resembles a finished vehicle inside an RC car kit box. Remote control car kits usually consist of well-organized bags of parts and an instruction manual. Some kits may come with the most complicated components, like differentials or turnbuckles, already assembled. Most do not include a motor, ESC, or radio equipment.
Kits are often less expensive than RTRs or rollers. Don’t choose to build an RC car kit based only on the lower initial price, though. You’ll invest more time and money into the kit when you purchase the required accessories and put it all together. However, there are many advantages to building your own RC car from a kit.
Why build a remote control car kit?
There are pros and cons to kit building, but overall it’s probably not as difficult as you might think. In fact, lots of RC car modelers enjoy the building process almost as much as driving their completed vehicles.
If you’ve never built an RC car or truck kit before, the first steps after choosing one are finding appropriate completion items and setting up a work area with any tools you’ll need. Be patient. Whether you have building experience or not, it will be several days or more before you can run your vehicle. Assembling a kit takes time.
One huge advantage of building your own RC car, however, is that you’ll understand how it works exceptionally well after putting it together part by part. You’ll be able to maintain and repair it like a pro for years of driving fun.
Building your own kit also lets you give your vehicle a totally unique look. Plus, you aren’t forced to buy whatever radio and electronics the manufacturer put into its RTR package. You can repurpose equipment you may already have, or choose better-quality gear than is often included with ready-to-run vehicle packages.
How to choose your RC car kit.
How can you make sure that the RC car kit you choose is right for your experience level? If you’re shopping online, read the product description carefully and research the vehicle through other web RC resources. At your local hobby store, talk to the staff and ask for their recommendations.
Many manufacturers make their kit instruction manuals available online. When you find a kit you like, check out its manual before buying to be sure you have the skills needed. After you’ve made your purchase, read through your kit’s manual thoroughly before starting assembly. You’ll learn important information that will help you avoid problems as you build.
Required accessories for RC car kits.
As mentioned earlier, your radio control car or truck kit won’t come with all of the accessories required to run it. You’ll need most of them during the assembly process, however, so get them before you start to build.
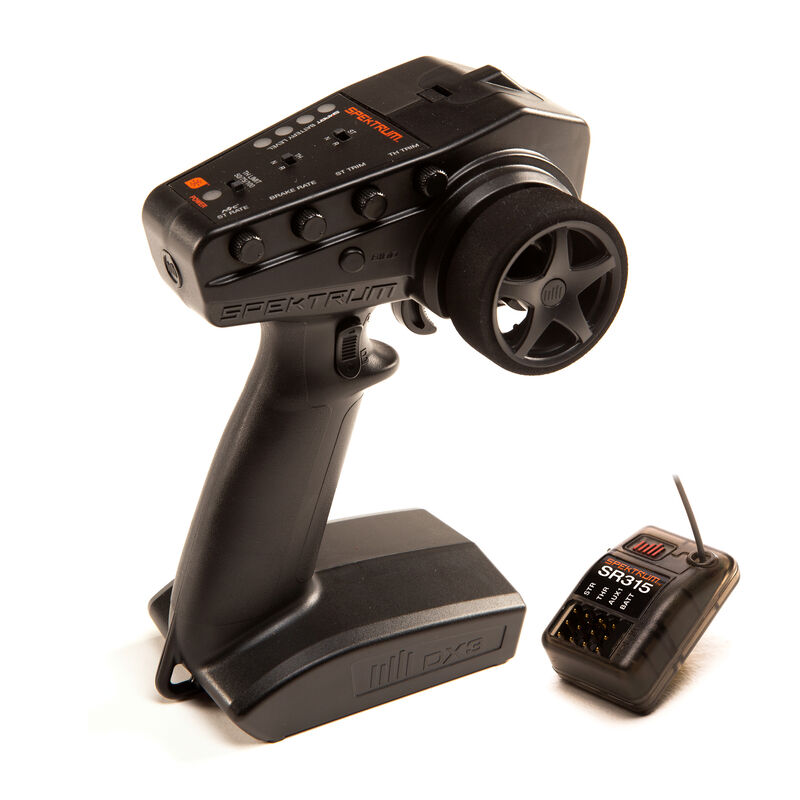
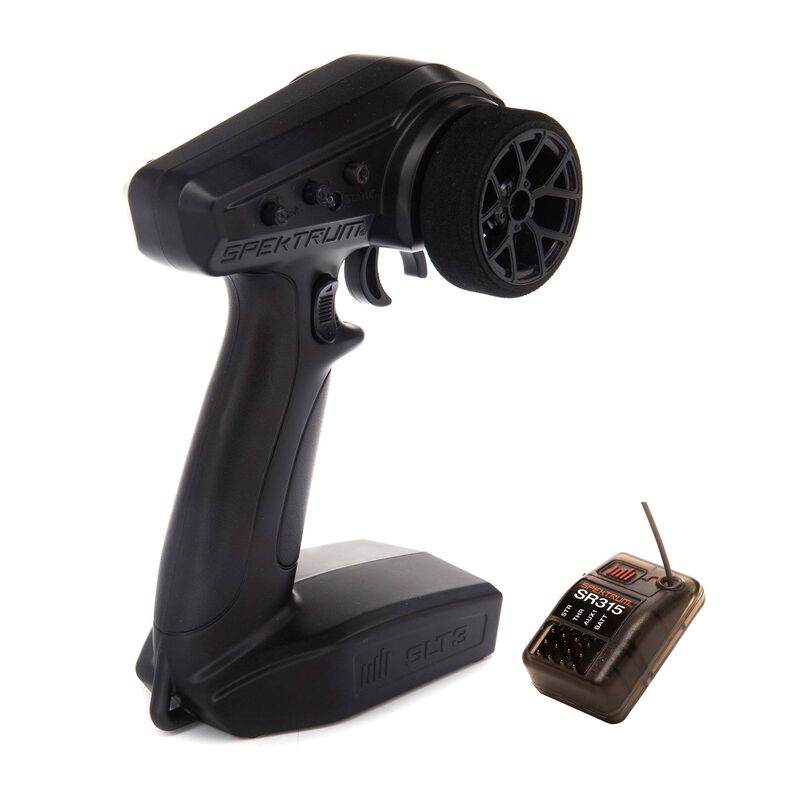
The required electronics will include a radio transmitter, receiver, and servos. For most RC car kits, a basic two- or three-channel surface radio system will do, such as the Spektrum SLT3 or DX3. If you expect to stay with the hobby and buy more RC vehicles, you may want to go ahead and invest in a radio system with more capabilities, such as a Spektrum DX5.
You’ll probably need a motor, ESC, and battery, too. Consult your hobby dealer or your kit’s web page, package, or manual for the appropriate sizes. Manufacturers often recommend specific products from popular brands for their RC vehicles. The choice is up to you, but following the manufacturer’s recommendations is a safe bet.
If your RC car kit requires a body, many companies make them to fit RC vehicles of all sizes. Even if your kit does include one, you might have to paint and finish it yourself. A wide assortment of spray and brush-on paints is available for the clear plastic car bodies used in RC.
Most RC car kits come with tires and wheels, but not all do. All tires will wear eventually and have to be replaced. There’s an endless variety of wheels and tires you can use for a specific look or driving surface. Tires can be purchased unmounted to install on the rims of your choice, or you can get “premounts” that are factory-glued to rims and ready for action.
Tools needed to build your own RC car kit.
RC car kit manuals typically include a list of the tools that are required or recommended. Using the right tools for each task will make building your own RC car much more enjoyable and successful. Gather them before you start assembly to avoid interruptions as you build.
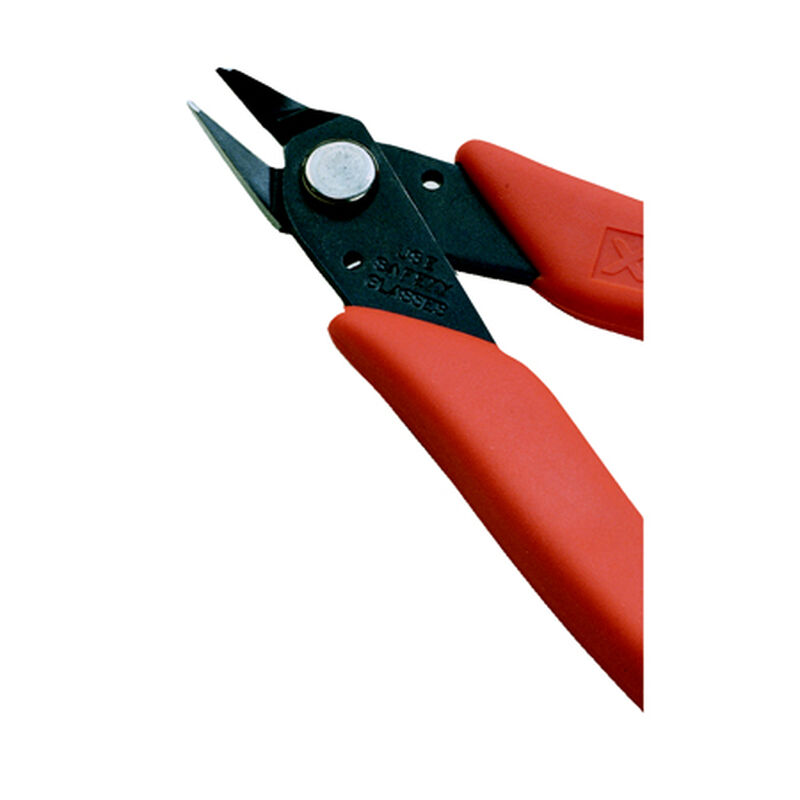
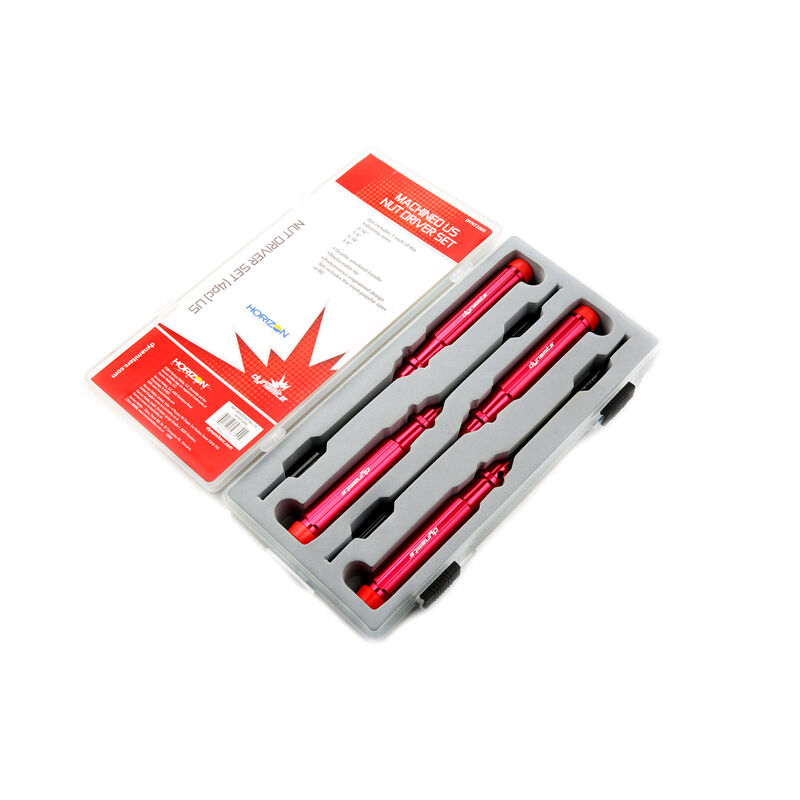
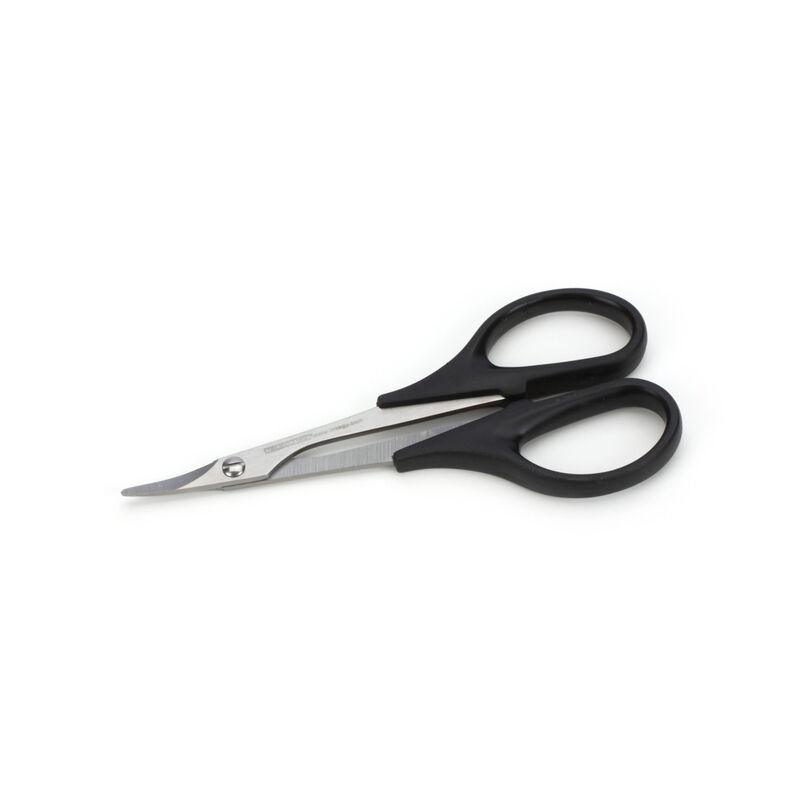
Every remote control car modeler needs a supply of quality tools for assembly, maintenance, and repairs. Your hobby tool box should contain the most frequently used sizes of nut drivers and hex drivers. To trim easily around the complex angles of car bodies, curved Lexan scissors are also a must. The best tool for cutting parts neatly off of their parts trees is a sprue cutter. Other common tools that come in handy during kit assembly are a sharp hobby knife and a long nose pliers.
Set up your RC kit building workshop.
Because building your own remote control car kit will take a while, find a spot where you can work and leave everything undisturbed until you’re finished. Good lighting is important. So is having enough space to organize and spread out parts so they’re easy to find when needed.
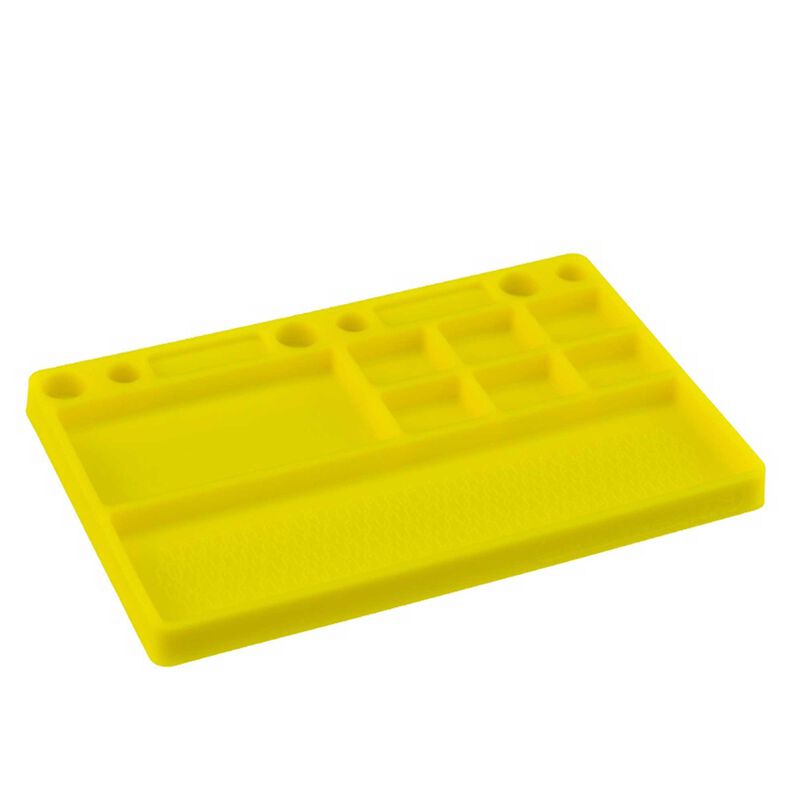
RC car and truck kits have many tiny parts that are easy to misplace. How do you keep them safe until you need them? Handy parts trays designed for hobby use are available, or you can use the cabinet-style parts organizers with small drawers that are found at any hardware store. In a pinch, small plastic food storage containers with lids should serve the purpose just fine.
A few final tips before you start to build.
Before you begin each step of kit assembly, gather all the parts and hardware needed for that step. The small parts bags in your kit will be labeled with letters and numbers that correspond to the letters and numbers used to identify parts in the manual. Take your time, compare the bag label with the manual, and verify that you have the correct parts for each step.
Some of the different parts in an RC car kit can look nearly identical. This is why it’s so important to focus on one step at a time and to keep your parts organized — so you won’t grab and use the wrong part by mistake.
Most kit manuals will show “actual size” illustrations of parts and hardware right next to the step you’re working on. That’s another way to ensure you’re using the right size screw, nut, or other part for that step. Just hold it next to the illustration to make sure it matches exactly.
Also, make sure you understand the meaning of any symbols used in your kit manual. What the symbols represent is explained in the first few pages. Since many RC car kits are sold internationally, the manuals often use photos, drawings, and symbols to give directions instead of filling the pages with multiple languages.
If you’ve followed this advice, congratulations! You’re no doubt the proud owner of a well-built, well-performing radio control vehicle that’s a real standout on the track. You also know exactly how to keep it in excellent working order no matter what the future holds. And there’s a good chance your future holds more fun choosing and building your next RC car kit!
